Exterior
Requirement: protect the exterior as much as possible to minimise maintenance and cost in the future.
Hull
Underwater
-
Drilled propeller hole
-
Drilled exhaust hole
-
Drilled water filter hole through the hull below waterline
-
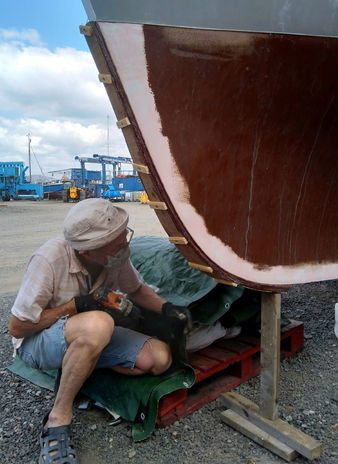
Eco sounder - cut a hole in the bottom and make it solid fibreglass & epoxy as the echo sounder does not work well through the wood. Glued the transducer on top of that.
-
Shaped the stern for the propeller, fibreglass, epoxied etc
-
Added wood to the stem to make it rounded
-
Measured and raised the waterline 10 cm / 4” (hope it does not disappear when launched)
-
Epoxy glue waterline with a string
-
Fitted series drogue plates: 10 mm stainless steel plate - 40 cm long, with 4 mm SS backing plate
Finish
-
Epoxy to the hull at the time of build, sanded
-
2 coats of epoxy, sanded
-
2 coats of epoxy primer, sanded
-
5 coats of epoxy and copper coat powder mix applied in one day to bond well
-
Sanded before launch to expose copper
Topsides
-
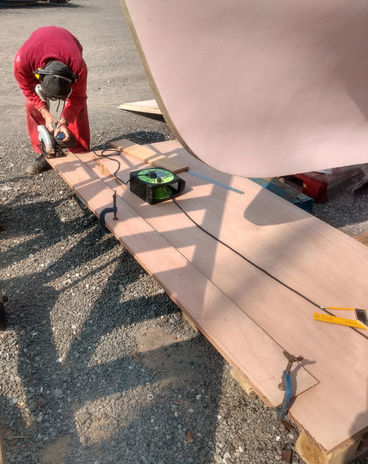
Cut out 2 windows port and starboard and 2 aft
-
Epoxy coated at the time of build and painted to a high standard. This needed no attention at the time. We only needed to paint to our colour scheme.
-
Two epoxy undercoat paint, plus two polyurethane paint
Bow and Side Decks
-
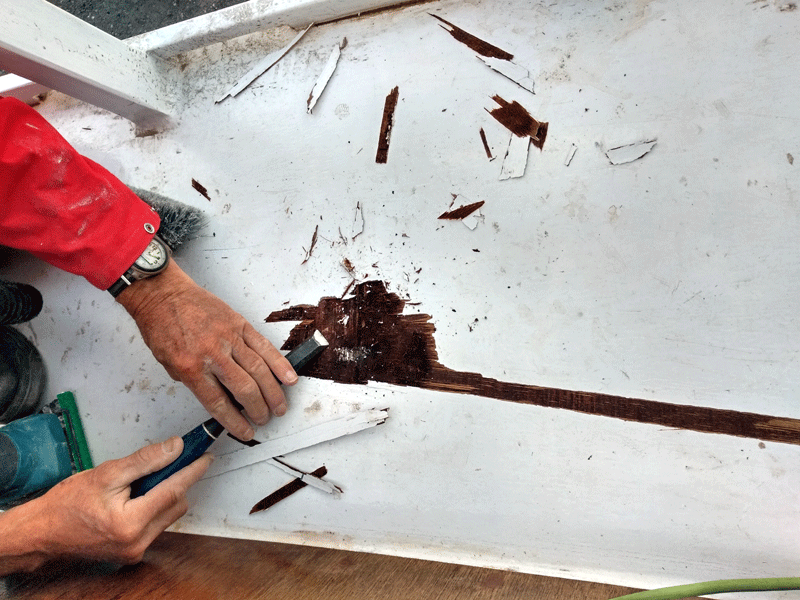
Sanded back the paint
-
Epoxy fibreglass
-
Epoxy undercoat x 2
-
Non slip paint
Shoe
Decks
-
Steal shoe by design discarded as maintenance issue
-
Measure and dry fit plywood shoe (25 mm), rout edges
-
Fibreglass & epoxy plywood shoe to the bottom of the keel
-
Fit to the keel with epoxy glue
Side decks
-
Repair damaged plywood in places
-
Fibreglass bow and side decks
-
Filled the stanchions at deck level to stop water collecting
-
Filled gaps near the aft step - to stop the rot
Bulwarks
-
Repaired plywood
-
Drilled new eye in the bow and made a ring - epoxied
Cabin
-
Repair damaged plywood areas on the cabin top
-
Made pattern for plywood to fit on cabin sides on original sepilea, cut plywood
-
Epoxied glue plywood to the cabin & screwed
-
Coated plywood with epoxy
-
Filled the screws & filleted cabin to deck ‘joint’
-
Epoxy undercoat x 2 - Painted x 2
-
Windows - build up window sills to drain overboard
-
Hatch FWD - made frame, replaced the hatch
Hatch
-
Tufnol sliding runners
-
Hatch inspection opening - for maintenance
-
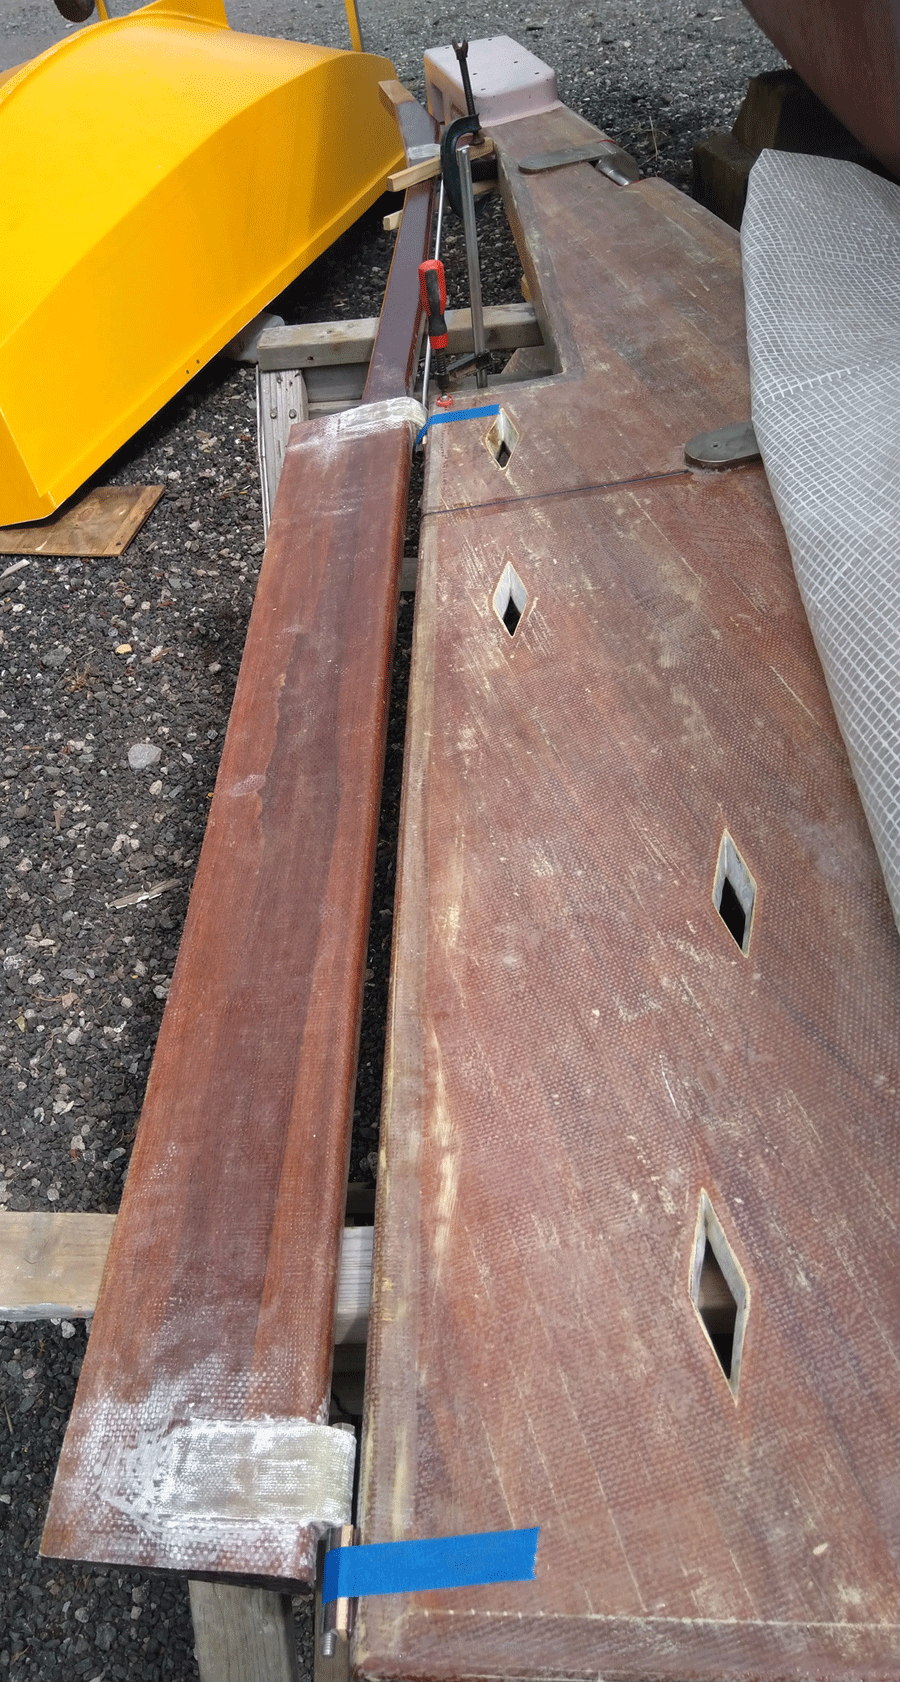
Hatch diamond window closed with polycarbonate
-
New polycarbonate wash board
Cuddy
-
Designed and built a sliding cuddy above the bridge deck
Cabin - topsides
-
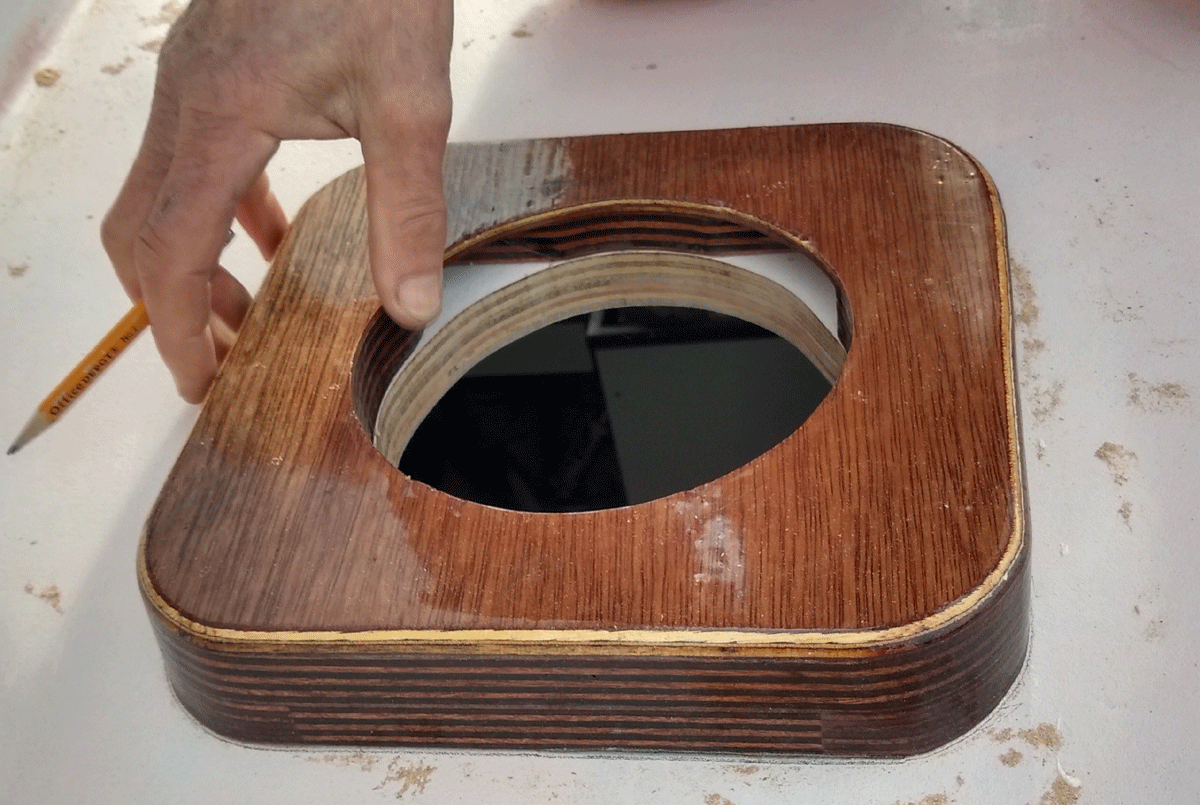
Vents - made ring, fitted
-
Chimneys - made rings, fitted
-
Grab rails - painted
-
Window shutters - cut diamond window shape and rebate for polycarbonate, paint and glaze
Cockpit
Lockers
-
Inside: Fibreglass cockpit deck inside lockers and cockpit deck edges (joining lockers and bulwarks), epoxy undercoats and epoxy paint finish
-
Series drogue - Cut holes for series drogue access
-
Two air ventilators for saloon
-
Outside: epoxied lockers sides and fibreglass locker base edges to the cockpit deck (5 cm) for water drains channel
-
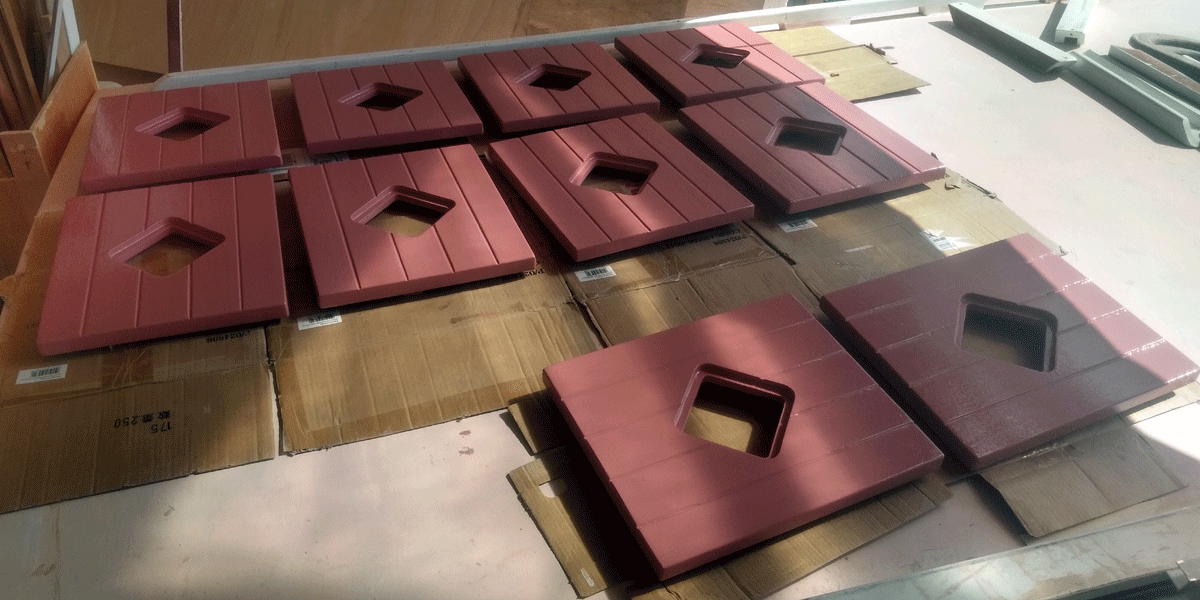
Lids: cut new from plywood, epoxy glue Douglas Fir decking veneer down
Cockpit deck:
-
Belt sand and epoxy glue Douglas Fir decking veneer down (Gougeon brothers method)
-
Filled corners close to the frames to stop waterlog & help drainage
-
Deck light - drilled holes, glue polycarbonate with UHB tape
Bulwarks: cut down all round the top sides and reinforce with plywood where cut bullworks
-
Shaved off bottom aft bulwark to fit the rudder & self steering / trim tab
Davits
-
Fit through aft bulwark / epoxy / paint - bolt on davits
Steering & Self Steering
Rudder
-
Build rudder head
-
Metal fittings to the hull and rudder
-
Propeller cut-out
-
Fibreglass
-
Dry fitted
-
Added trimtab
-
Trimmed aft bulwark beam to fit trim tab
-
Add end plate to rudder
Tiller
-
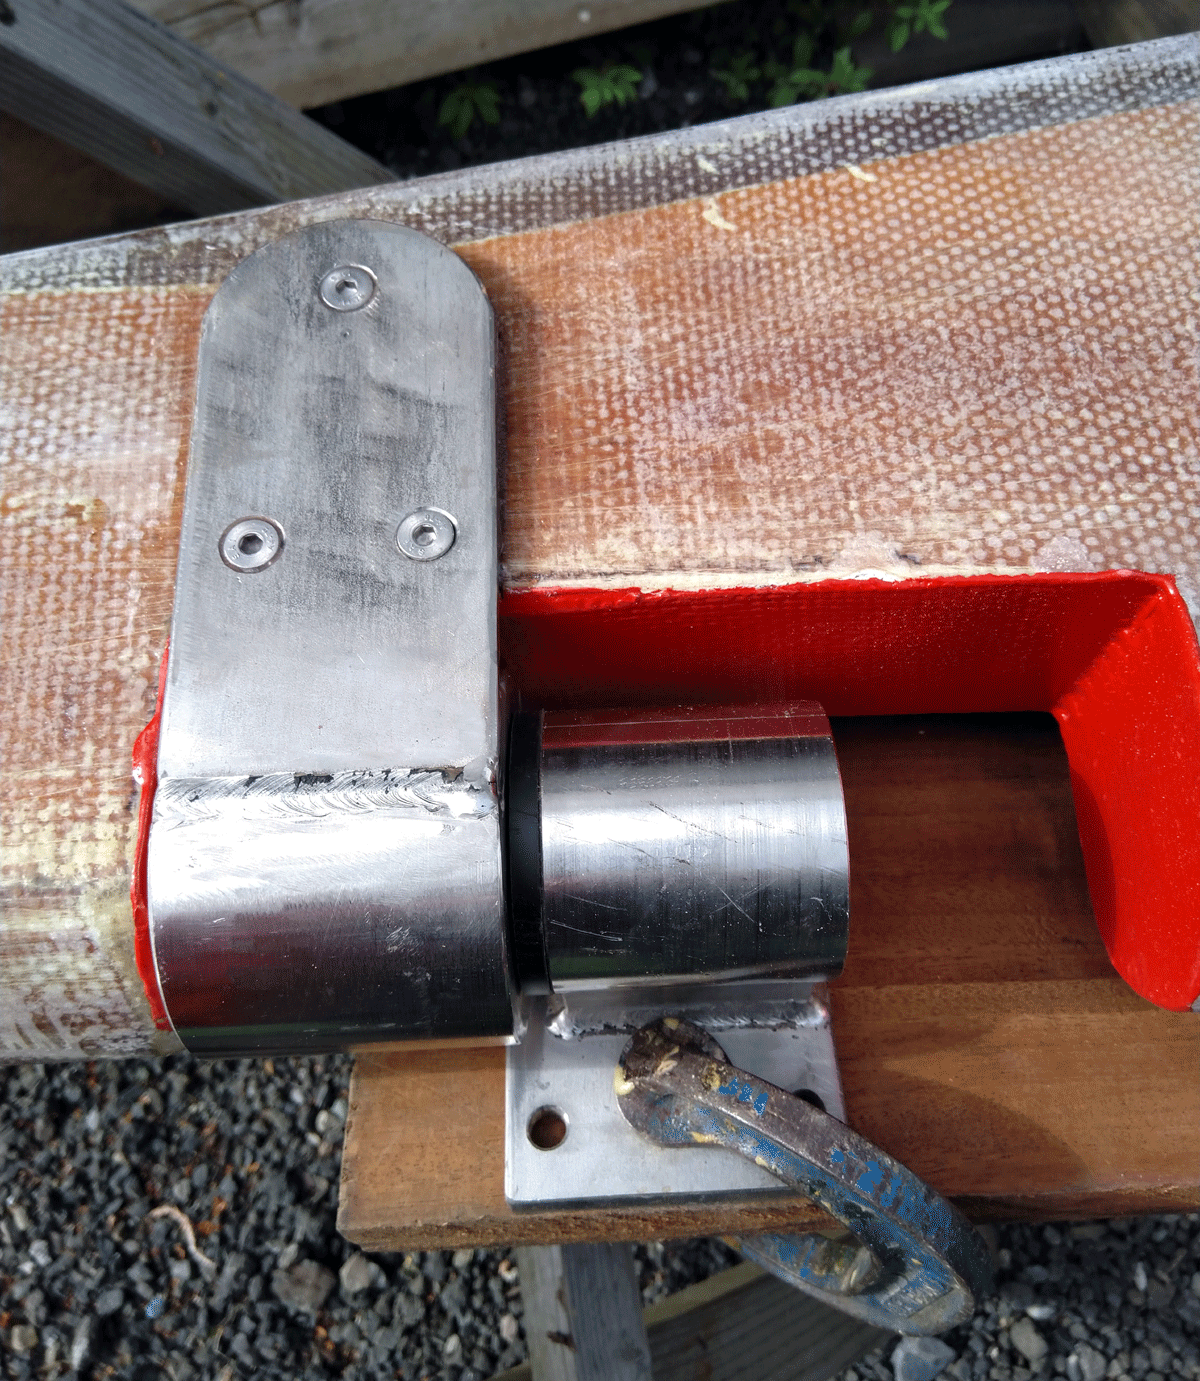
Make and fit tiller joint to rudder head
-
Make hinge plate for tiller connection
Self Steering
-
Build Bill Belcher OTG 2
-
Connected to trim tab on the rudder
Masts
Masts sizes:
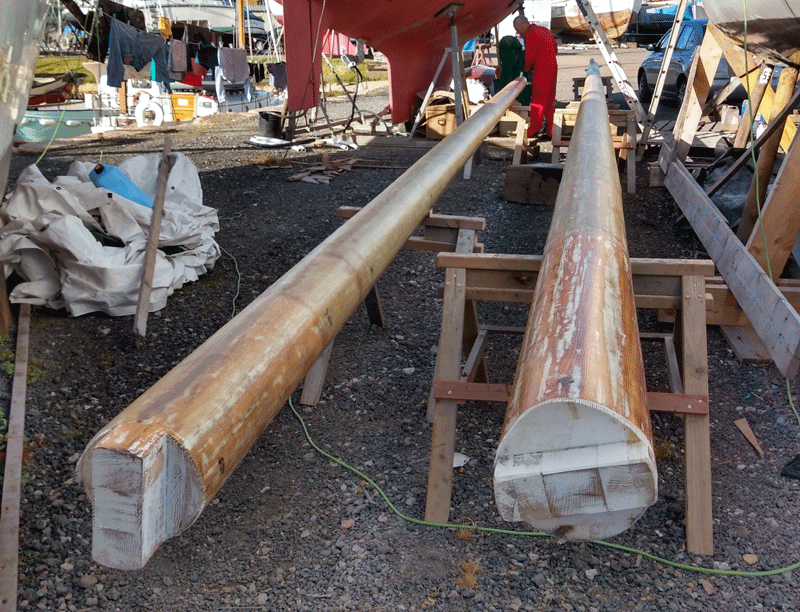
Foremast: 9.15 m hight above deck, diameter 180 mm at deck level
Mainmast: 14.10 m (overal length), 12.38 m hight above deck, diameter 220 mm at deck level
Masts are reinforced with unidirectional fibreglass:
-
Unidirectional fibreglass - 3 layers, tapered
-
Epoxied with aluminium graphite to strengthen
-
Fitted heal to mast step ( FWD 11 degrees and main 7 degrees)
-
Mast heal - epoxied
-
Mast cap- 18 mm plywood, biaxial fibreglass top & bottom, glued and screwed to mast head, filleted & fibreglass under the cap.
Masts Head
-
U bolts, glued and screwed - 3 for rigging
-
Glue leather to protect the wood
-
Mast top Main Mast - 7 degrees sloping lights base - the light had to point horizontally!
-
Mast top FWD Mast - 11 degrees sloping base for Burgee
-
Burgee made of plastic ring to plastic swivel, fitted onto fibreglass tube
Masts Step
Forward Mast
-
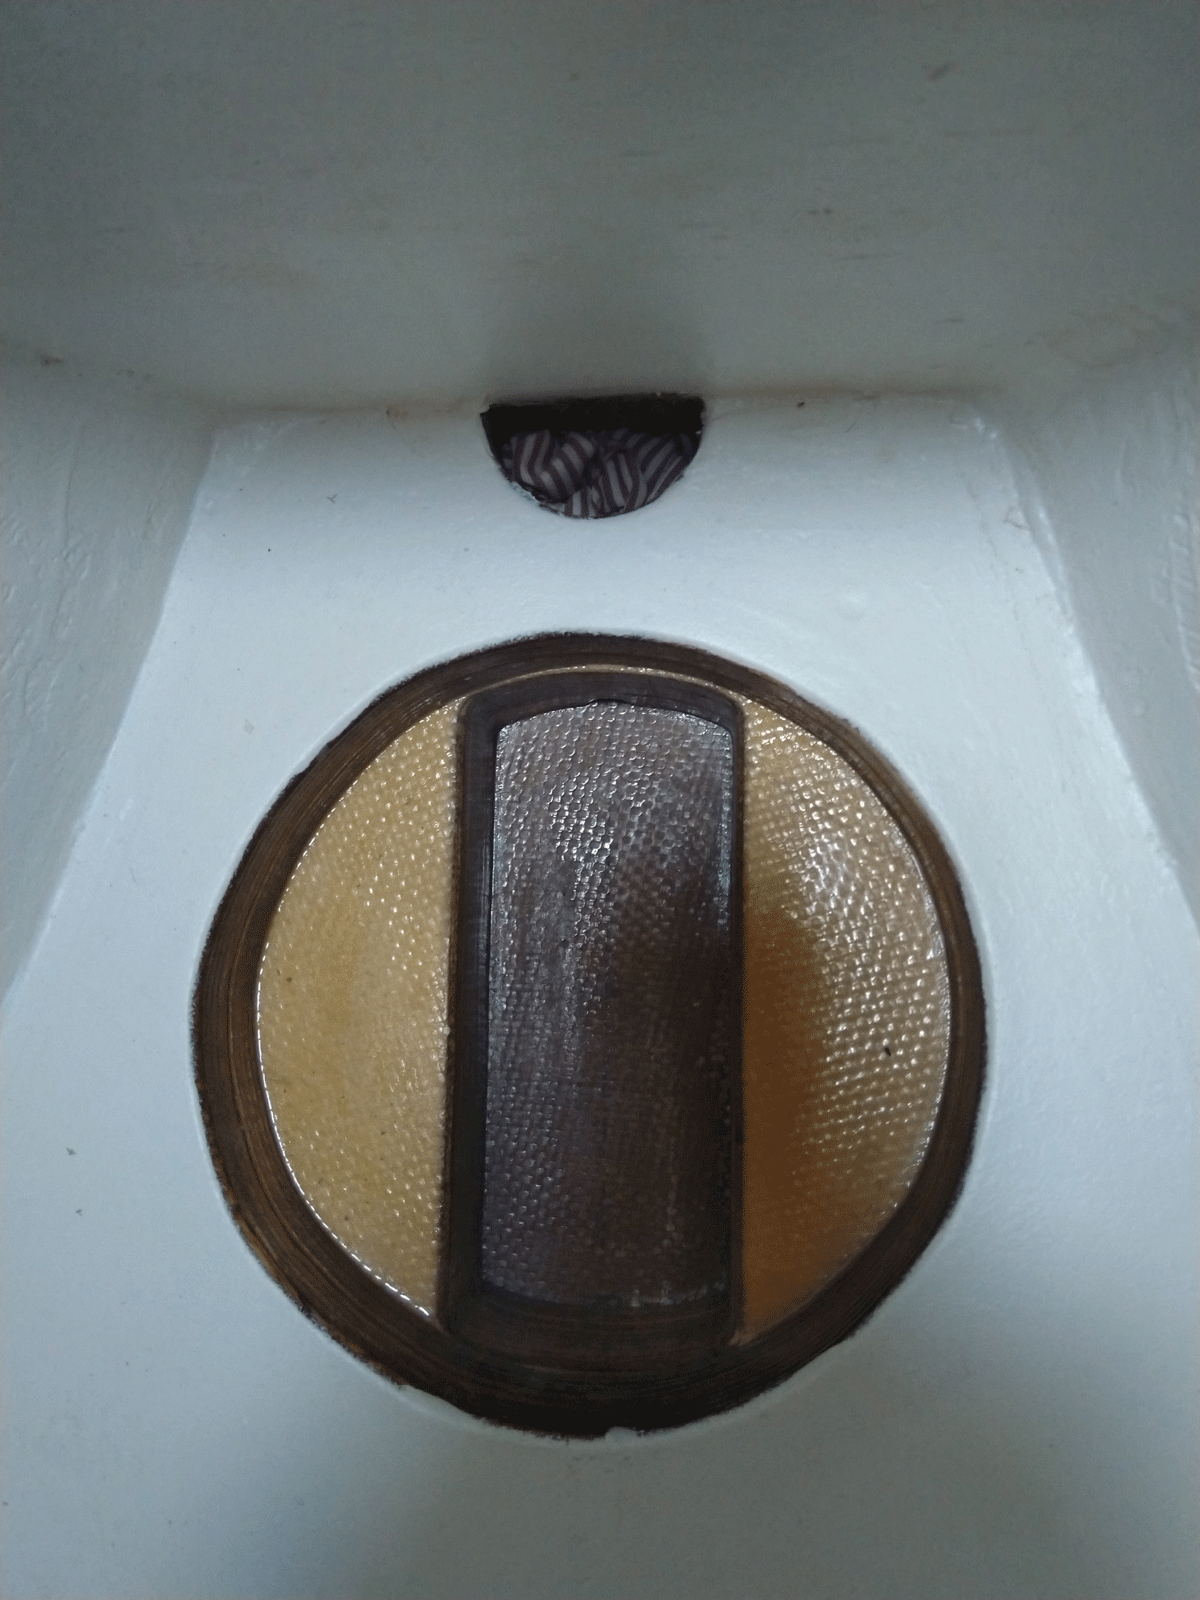
Base layer with draining hole glued to the hull
-
Make 5 different plywood shapes to fit the curve of the hull at the base of the mast
-
Draining hole at the bottom plate
-
Fit to base of the mast
Main Mast
-
Added 2 blocks, glued fibreglass to the keel, draining hole
-
Added 2 plywood ‘braces’ bonded to the hull & keel for lateral support at the base
Masts Step - Stepping
-
Base and through the hull holes adjusted for the rake
-
Difficult to cut the thickness of 5" through the hull at 7 degrees & 11 degrees rake
Mast Collars
-
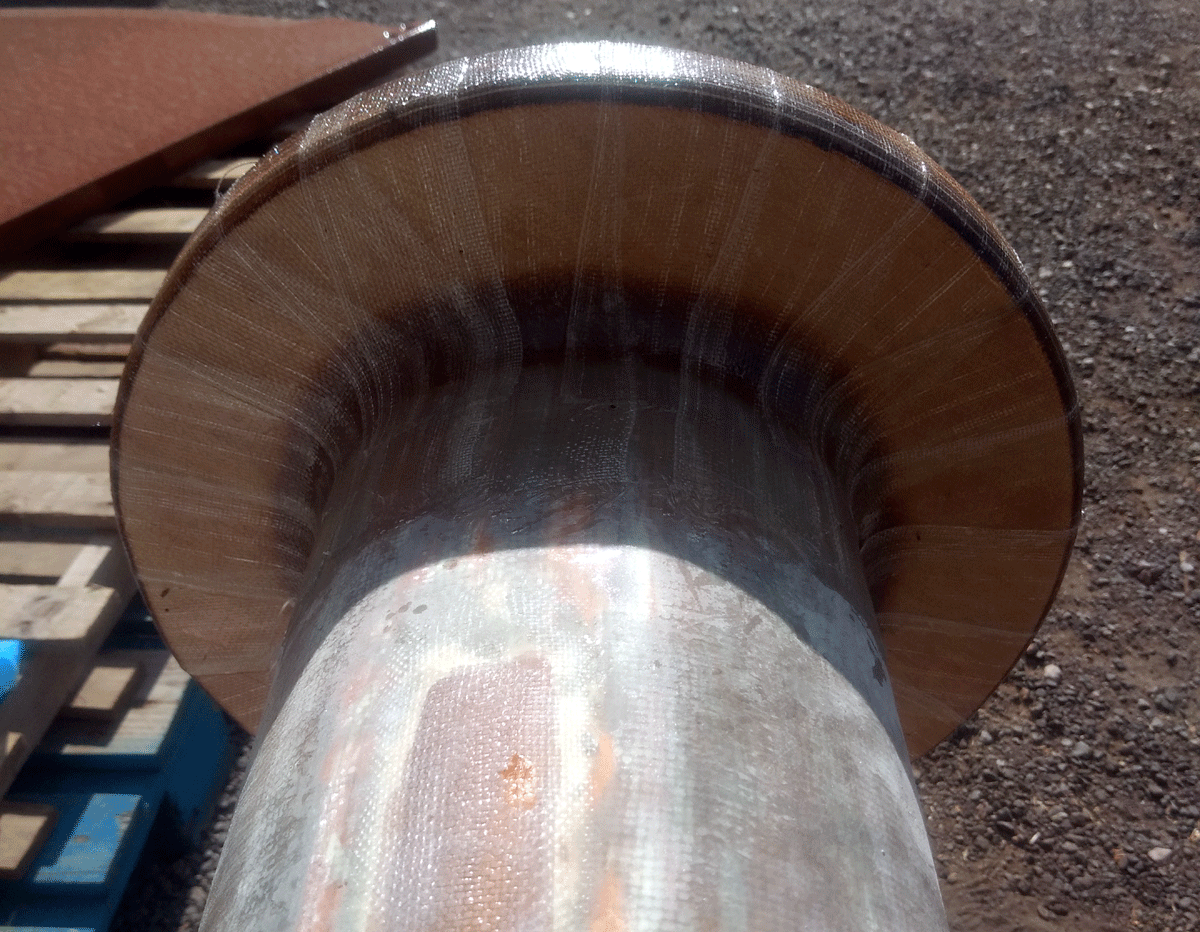
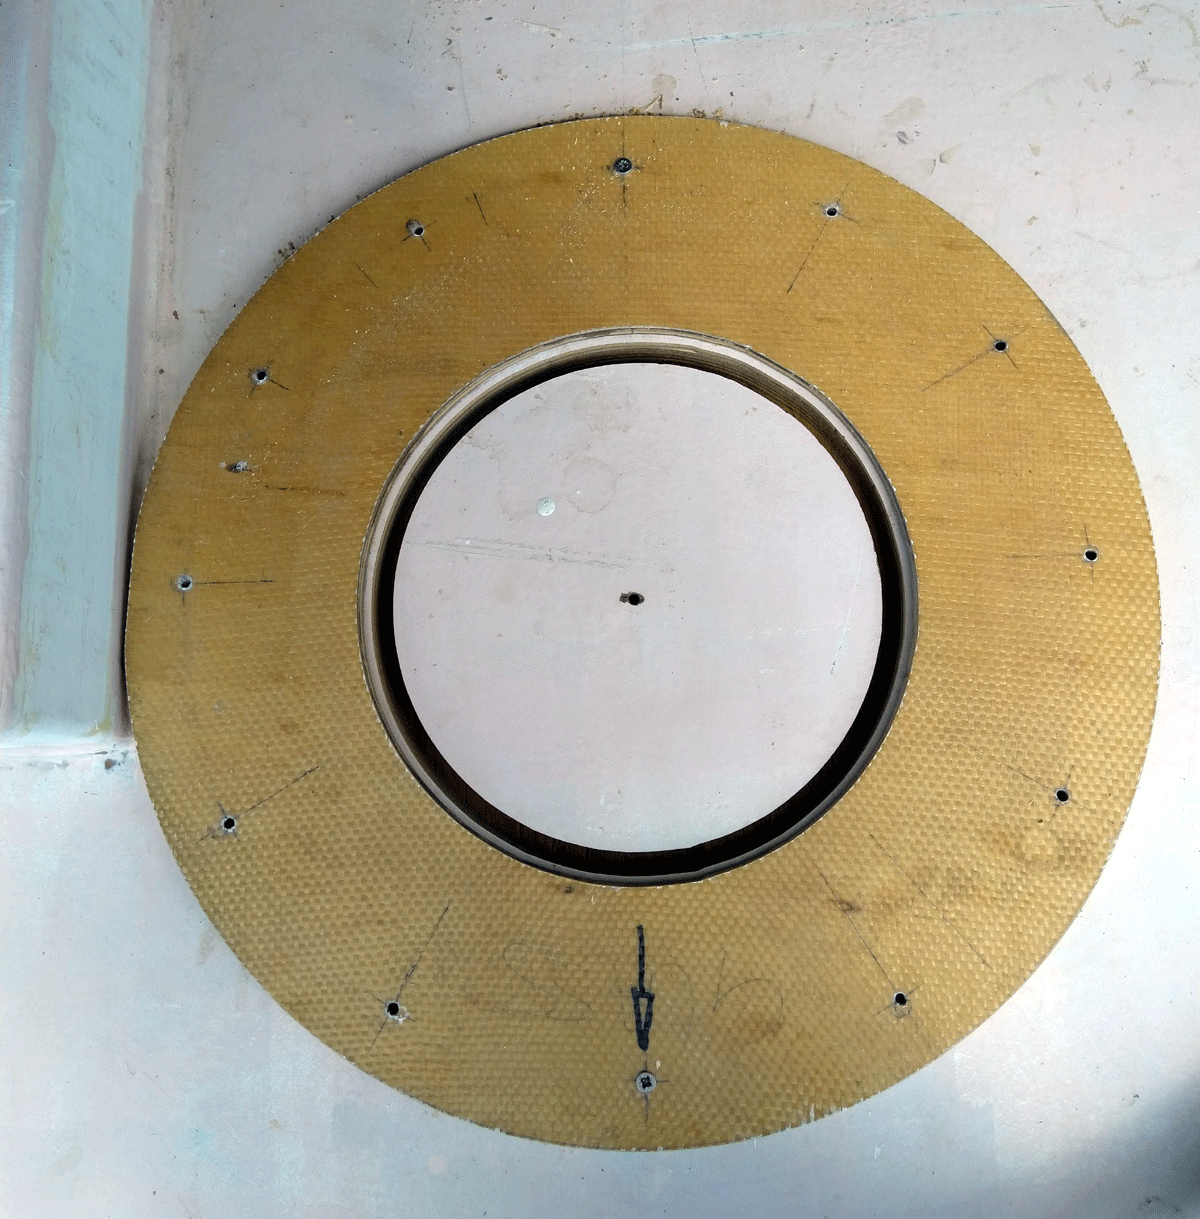
Mast collars 2 layers, fibreglass
-
Threaded SS sockets glued into the deck
-
Plywood bolted down with a thin rubber washer underneath
-
Mast lowered down through the hole and wedged into correct position
-
The ring heavily glassed to the mast - biaxial & unidirectional fibreglass epoxy
-
Bolts - 12 x 10 mm
Centreboard
-
Studied plans, decide on redesign in terms of material and build
-
Cut plywood base, 18 mm
-
Make solid fibreglass hook to fit in the mid layer
-
Make solid fibreglass to fit the control rope
-
Mid layer 12 mm plywood glued on with gaps for the steel ballast weights
-
Solid fibreglass fitted at this stage
-
Third layer - cut and fit 18 mm plywood to cover the mid layer with metal plates
-
Added fibreglass to the fibreglass plates made
-
Shape the leading and trailing edges
-
Drill holes for the ropes, line with kevlar, add kevlar to the bottom corner
-
Fibreglass 300 gsm cloth and epoxy
-
Fill the weave with thickened epoxy - sanded
-
5 coats of epoxy and copper powder
-
Epoxy / Cooper - 5 coats
-
Turn over 200 kg a couple of times to fibreglass and epoxy...
-
Splice dyneema - main and spare line
-
Make a frame to support the centreboard for moving
-
Lift the boat and move the centreboard with JCB to fit into the hole!
Case
-
Sand - epoxy - paint inside
-
Fit centreboard ‘stopper’ inside the centreboard case
-
Install blocks to stop centreboard jumping off hinge
-
Add safety block at aft end
-
Cut rope slot and make a winch base, install a winch and turning blocks
Ballast and Bilges
-
Remove drain pipe already in place, fit wooden bung and epoxy, to make ballast sections watertight
-
Built up the floors to screw down the cabin sole over the ballast
-
Built ballast bulkhead aft to retain ballast and to raise the floor support
-
Sand - epoxy - paint - sand - undercoat - paint
-
Put rubber matting to protect the hull
-
Bring in 3.3 tons of ballast ingots (with a friends help) and fit into position
-
Add 200 kg of galvanised steel punching to fill the gaps and make up the weight
-
Make plywood blocking to stop ballast moving
-
Screw down cabin sole on bitumen rubber sealant
Bilges
-
Build engine bearers
-
Build diesel tanks support
-
Mast step - see separately
Dinghy & Yuloh
It was important for it to be light, maintenance free, a reasonable size and to row well. After a prolonged deliberations we were offered the use of Chris Rees design 9 ft dinghy, fibreglass mould.
-
No gelcoat to keep it lighter
-
2 layers of 300 gsm and 1 layer of 450 gsm
-
pigmented polyester resin
-
Built in buoyancy bow and stern.
-
Two rowing positions plus fin sculling


